Cropping videos for social media to fit the required aspect ratios is something you’ve probably done at least once or twice... And with Adobe Premiere Pro, cropping video is easier than ever. A video editing software like this can help you adjust the frame size of your video to meet your needs or help you to add video effects or remove those bothersome visual distractions. To help you get the hang of how to crop a video in Premiere, we’ve put together a short Premiere Pro tutorial with a few simple steps for beginners.
Why Do You Need to Know How to Crop a Video In Premiere?
We know that if you’re a Mac user, you’ll probably be pretty familiar with iMovie by now. So why would you need to know how to crop a video in Premiere? Well, Adobe Premiere Pro CC can help take your video to the next level.
Premiere Pro allows you to crop videos in a number of different ways. One of these is a split-screen. These videos are made by cropping two videos to fit next to each other. Another method is to use the Mask tool, and if you’re trying to composite an effect into a video clip, you can use this to limit it to a specific portion of the frame. You can also use a cropped video to transition between scenes.
Steps for How to Crop a Video in Premiere Pro

In just three simple steps, you can learn how to crop a video with Premiere Pro.
- Find the Clip You Wan:t Start a new project and place the playhead over the clip you wish to crop in the Timeline panel.
- Apply the Crop Effect: There are two days to do this. The first is to go to Video Effects dropdown > Transform > Crop or you can search for Crop in the Effects panel.
- To apply the Crop effect to the selected clip, double-click it (or you can drag and drop it onto your clip).
- Crop Your Clip
- Now, you’ll want to go up to the Effects Control panel section. In this project panel, scroll down until you see the crop option from the editing tools. You’ll see crop tools percentage sliders for the left, right, top, and bottom, as well as an edge feather and Zoom checkbox.
To start your crop, simply drag the handles from the percentage sliders and this will start to drag black bars to sections of your video, creating a crop effect. Then you can click Zoom on your cropped video to fill in the frame.
Now, if this distorts any portions of your video, you’ll want to scroll up to scale your image under the Motions preset of the effects tab. Here is where you’ll want to increase and move the position and scale so that the black crop bars disappear and your image retains its proportions.
As you’ll notice, this is a bit different from typical cropping using Photoshop where you move a box around, set its parameters and your image conforms to those boundaries. This type of cropping doesn’t exist in Premiere Pro.
Learning How to Resize vs How to Crop a Video in Premiere
We’ve just covered how to crop video in Premiere, but you can also use other options, such as resizing.
Set the Frame
The first option is to set the frame. This feature is most useful when importing video clips from different sources but you want them to have the same size. Particularly if all the clips have different sizes and resolutions.
- From the timeline, select the video file you want to resize.
- When you right-click your clip, choose Set to Frame Size from the dropdown menu that appears.
Depending on your sequence settings, your clip will now have the frame size you specified.
Scaling the Image
Scaling the image to fit the frame size is the second option. The difference between this option and Set to Frame Size is that this feature also manipulates pixels in your image to adapt them to your sequence settings and saves you time. The quality of your video may be affected; however, if you’re pressed for time, it may just do the trick.
- On your timeline, select the clip you want to resize
- The clip can be scaled to frame size by right-clicking it and choosing Scale to Frame Size
Manual Scale
The third option is a manual scale. By manually resizing your original clip, you can avoid using the size or scale parameters in your sequence settings.
- Navigate to the Effects workspace.
- Look for the Motion drop-down menu in your Effects control panel
- You can scale the clip inside the frame by using the Scale option under the Motion dropdown.
Learning How to Crop a Video in Premiere: Understanding Aspect Ratio
There is a difference between cropping a video and adjusting its aspect ratio. By cropping a video, you reduce the space around the edges. When you’re adjusting the aspect ratio, you change how wide and high the frame is.
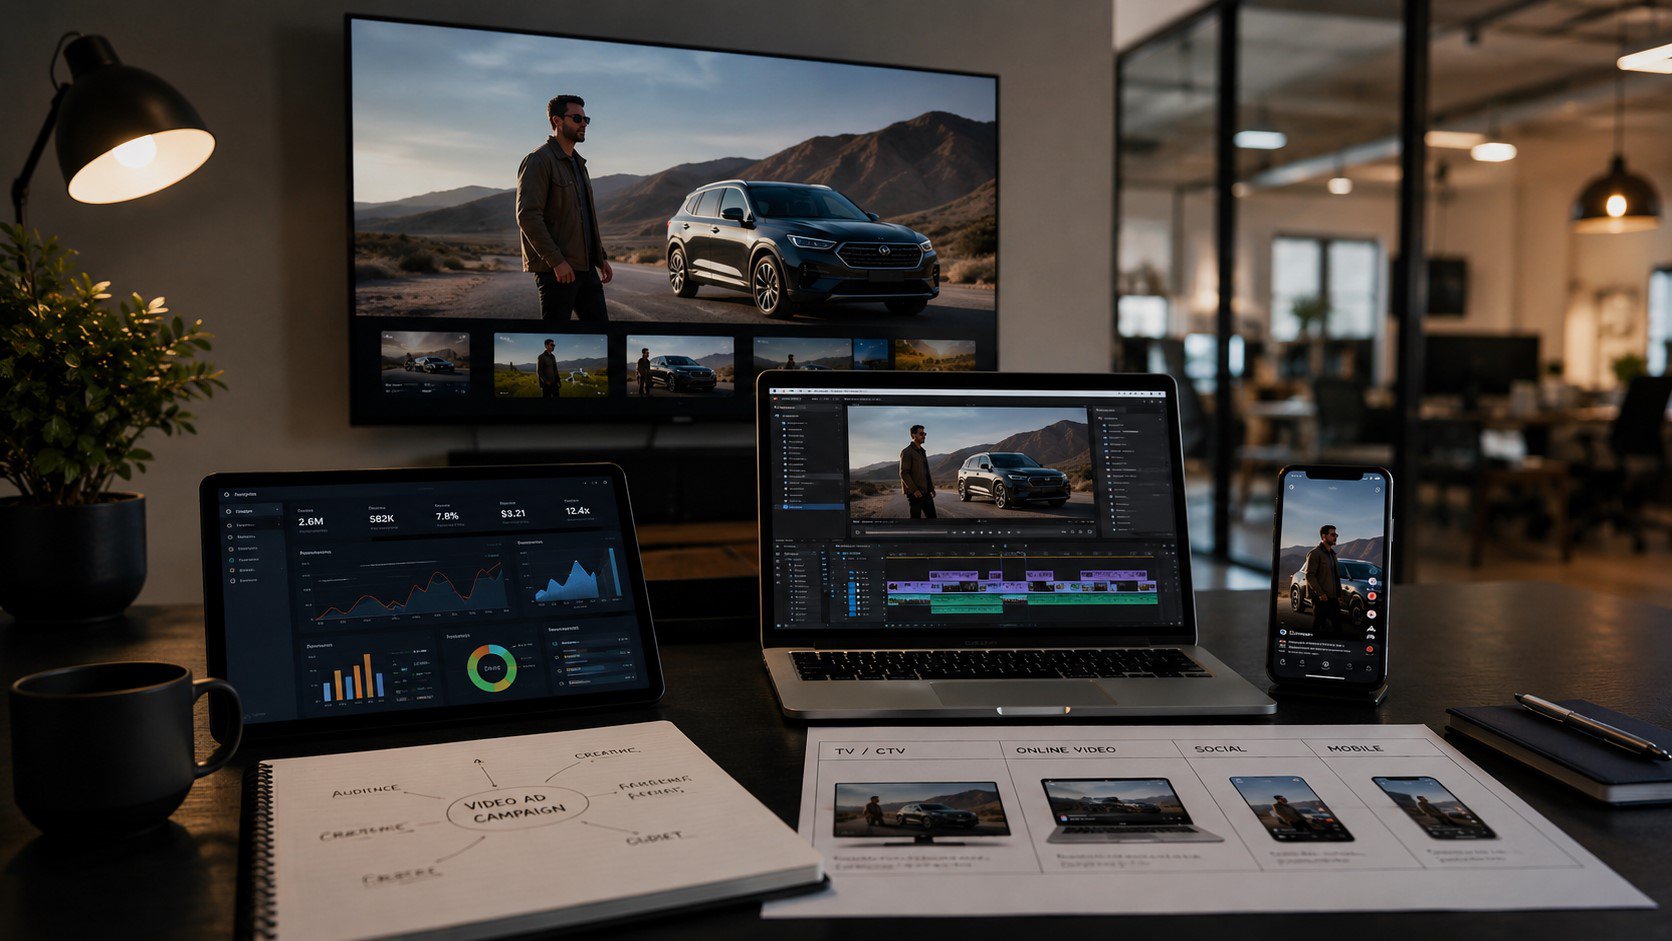
Using Artificial Intelligence (AI), Premiere Pro’s Auto Reframe function identifies important actions in a video clip and trims the aspect ratio accordingly to ensure they remain in the center of the frame. You can use this feature if you want to be 100% sure that your video is compatible with popular social media channels like YouTube, Facebook, and Instagram. In addition to smoothing the motion of the video, Auto Reframe keeps the action in the frame throughout the video.
Choose Auto Reframe Sequence from the context menu when you right-click the sequence in the Project panel. Then select the dimensions you want to apply from the drop-down menu beside Target Aspect Ratio. Three options are available under Motion Tracking:
- The slow motion effect – talking head interviews and static videos with little camera movement work best.
- The default setting – a standard amount of motion works well for most videos.
- Motion that is faster – sports videos with plenty of motion and action are good candidates.
Frequently Asked Questions
- What’s the difference between cropping and scaling a video?
Cropping removes part of the frame, while scaling adjusts size without changing the composition. Both are useful in video editing. For pro-level edits, visit Levitate’s Motion Graphics Services.
- When is cropping useful in commercial content?
It’s great for removing distractions, reframing for mobile, or adjusting aspect ratio for different platforms. Explore how to adapt videos for social in Levitate’s Social Media Video Services.
- Can cropping impact video quality?
Yes, cropping reduces the visible area, so it’s best to use high-resolution source files. For more tips on clean edits, see the blog How to Rotate a Video in Premiere.
- Are brands using cropping as part of platform-specific strategy?
Yes, SquareTrade uses cropping to customize testimonial and product videos for different platforms without needing multiple shoots.
We hope you found this step-by-step guide for how to crop a video in Premiere helpful. Interested in discussing a video project? Please contact us here to book a call.
Insights from